How to Manually Migrate a WordPress Site
A safe manual WordPress migration checklist: backup, move files, move database, update URLs, and test.


Manual migrations are slower than plugins, but they are reliable and teach you how WordPress actually works. This guide walks you through a clean migration without skipping the important checks.
Before you start, write down the current domain, database name, and hosting login in one place. It saves backtracking later.
What you will do
- Backup files and database
- Move files to the new host
- Import the database
- Update configuration and URLs
- Test and fix common issues
Example screenshot (illustration)
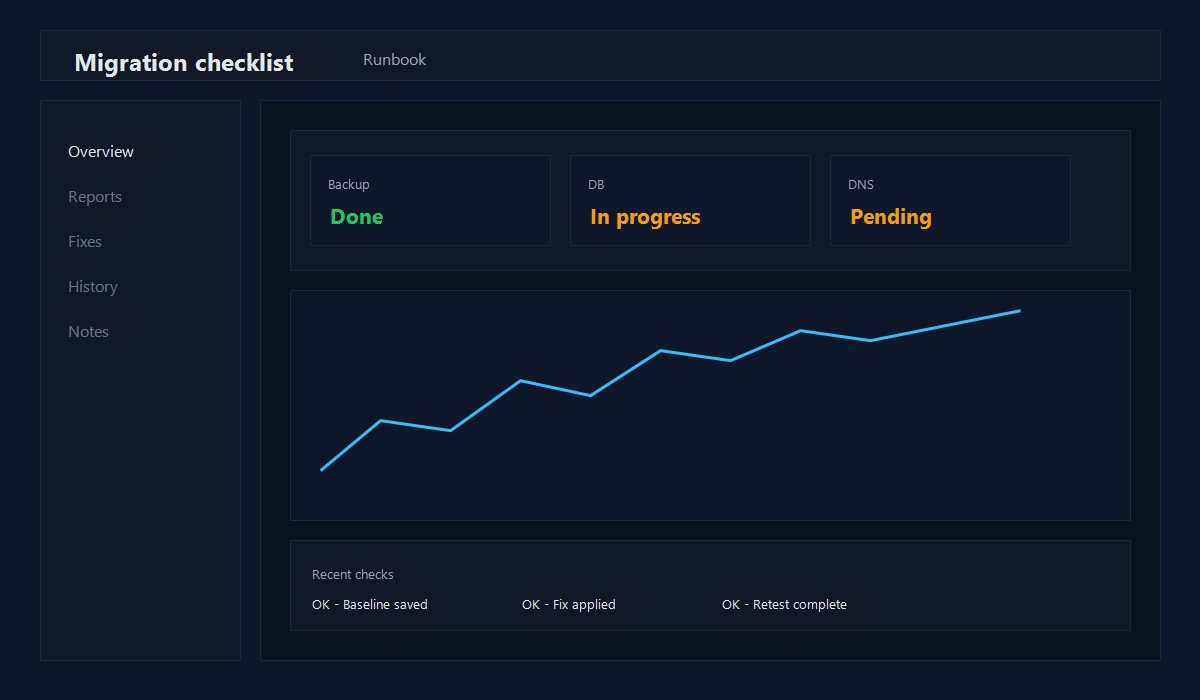
Illustration: Migration checklist progress.
Step 1: Put the site in maintenance mode
If your site is live, enable a maintenance page or do the move during low traffic hours. This prevents content changes while you migrate.
Step 2: Back up files and database
You need both:
wp-contentfolder- Database export (SQL file)
Most hosts let you export from phpMyAdmin. Save the backup locally.
Step 3: Set up the new host
Create a new database and user, and keep the credentials ready. You will need:
- Database name
- Database user
- Database password
- Database host
Step 4: Upload WordPress files
Upload your WordPress files to the new server. Focus on:
wp-content(themes, plugins, uploads)wp-config.php(will update next)
If the new host already has WordPress, you can replace only wp-content.
Step 5: Import the database
Import the SQL file into the new database. Make sure the import finishes with no errors.
Step 6: Update wp-config.php
Update the database credentials:
define('DB_NAME', 'new_db_name');
define('DB_USER', 'new_db_user');
define('DB_PASSWORD', 'new_db_password');
define('DB_HOST', 'localhost');
Step 7: Update site URLs
If the domain changes, update URLs in the database. You can:
- Use a search and replace plugin
- Run a search/replace in the database
Be careful not to break serialized data. Use a WordPress-safe tool.
Step 8: Update DNS
Point your domain to the new host. DNS can take time to propagate.
Step 9: Test everything
Check:
- Homepage and a few posts
- Images and media files
- Forms and email
- Admin login
Common issues and fixes
White screen after migration
- Check PHP version and plugin compatibility
- Rename the plugins folder to disable plugins
Broken links or images
- Run a safe search/replace for the old URL
Permalinks not working
- Re-save permalinks in WordPress settings
Quick checklist
- Maintenance mode on
- Files and database backed up
- New database created
- Files uploaded
- Database imported
- wp-config updated
- URLs updated if needed
- DNS updated
- Full test pass
Pre-migration checklist
- Confirm the new host meets PHP and MySQL requirements
- Lower DNS TTL 24 hours before the move
- List all active plugins and custom settings
- Take a full backup and test the zip file
Post-migration QA checklist
- Check homepage, a blog post, and a category page
- Verify media links and forms
- Log into wp-admin and resave permalinks
- Confirm SSL is active and redirects are correct
These steps prevent the most common migration issues.
Dry run on staging (recommended)
If possible, do one full migration on staging first. This reduces risk and helps you spot missing files or plugins before moving production.
48-hour post-migration watchlist
- Monitor uptime and error logs
- Check forms and transactional emails
- Verify redirects and SSL
- Confirm media loads on key pages
Most migration issues show up in the first two days.
Rollback plan (do this before you move)
- Keep the old host active for at least 3 days
- Have a full backup ready to restore
- Keep DNS TTL low for faster rollback
SSL and redirects checklist
- Force HTTPS after migration
- Check www vs non-www redirects
- Verify sitemap URLs use the correct domain
These steps prevent hidden SEO issues.
Inventory checklist (before you move)
- Active plugins list
- Theme and child theme files
- Custom code snippets
- Cron jobs and integrations
Keep a simple text file so nothing is missed.
24-hour monitoring plan
- Monitor uptime and error logs
- Check key pages and forms
- Verify analytics and tracking
Most problems appear quickly, so watch closely after launch.
Email and analytics verification
After migration:
- Test contact forms and SMTP
- Confirm analytics fires on the new domain
- Verify any ecommerce or conversion tracking
These are easy to miss and can break silently.
Cache warm-up plan
- Visit the homepage and top 3 posts
- Clear and rebuild any page cache
- Preload a few critical URLs
This helps performance stabilize quickly.
Common mistakes
- Forgetting to update the site URL
- Skipping the permalink refresh
- Leaving the old host inactive too soon
These are easy to fix if you know to check them.
FAQ
Should I use a migration plugin instead?
If you want speed and convenience, yes. Manual is best when you want control.
How long should I keep the old host?
At least a few days, until DNS is fully propagated and you confirm everything works.
Will SEO be affected?
If the domain stays the same, SEO impact is usually minimal. If the domain changes, set up redirects.
For a safe rollout, see Safe Plugin Updates and a Simple Rollback Plan.
Frequently asked questions
How long does a manual WordPress migration take?
A straightforward migration takes 1-3 hours depending on site size. Complex sites with custom configurations may take a full day including testing.
Will I lose SEO rankings after migrating WordPress?
Not if done correctly. Keep the same URL structure, set up 301 redirects for any changed URLs, and submit the updated sitemap to Google Search Console.
Do I need to update the database after migration?
Yes. You must update the siteurl and home values in the wp_options table, and do a search-replace for the old domain throughout the database.
About the Author
Shoaib Zain
We test themes, plugins, and performance tactics to publish clear, trustworthy guides for WordPress and content sites.
Read more about us

