Google Search Console setup for bloggers (step-by-step)
A clean, beginner-friendly Search Console setup guide: verify, submit sitemap, and monitor indexing.


Search Console is the fastest way to see how Google views your site. This guide walks you through setup, verification, and the first checks you should run.
What you will do
- Verify your site
- Submit your sitemap
- Inspect and index important pages
- Monitor errors and improvements
Example screenshot (illustration)
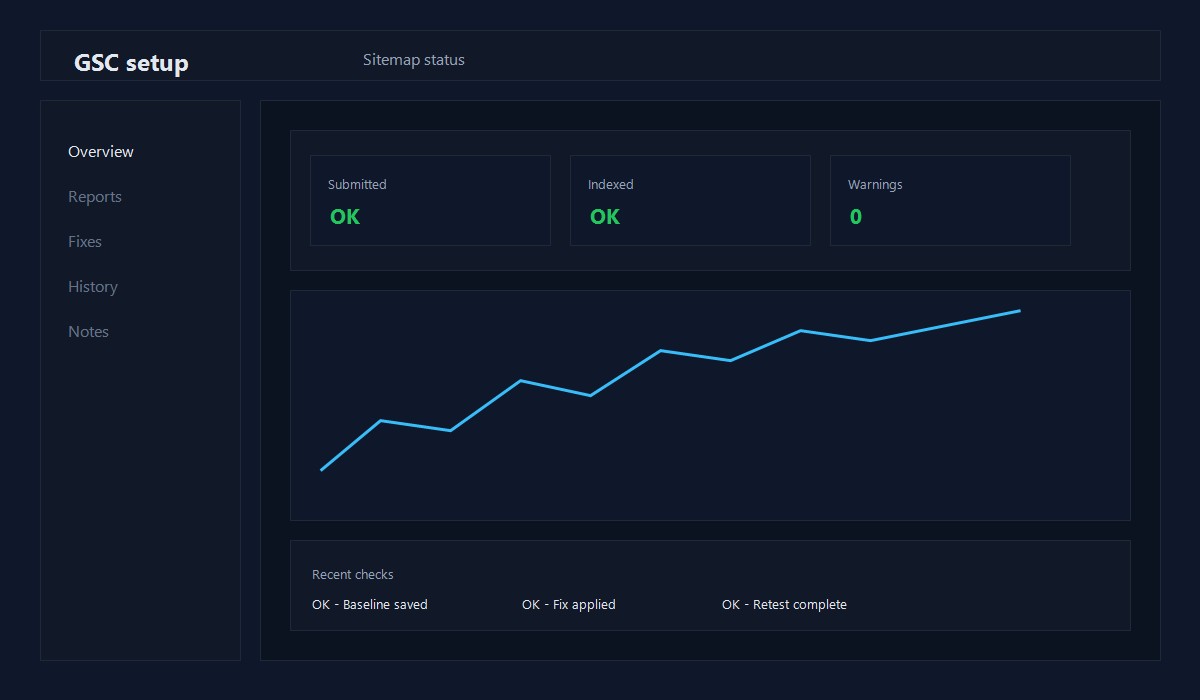
Illustration: Sitemap submission status view.
Step 1: Add your property
Use the Domain property if you can. It covers all protocols and subdomains in one place.
If you are not comfortable with DNS, use the URL prefix option instead.
Step 2: Verify ownership
Common verification options:
- DNS record (recommended)
- HTML file upload
- Meta tag in the head
Once verified, you only need to do this once per domain.
Step 3: Submit your sitemap
Your sitemap URL is usually:
https://yourdomain.com/sitemap.xml
Submit it in Search Console and wait for the status to show success.
Step 4: Inspect key URLs
Use the URL Inspection tool for your best pages:
- Homepage
- Blog index
- Your 3 most important posts
If a URL is not indexed, request indexing after you confirm the page is live.
Step 5: Watch for issues
Check these areas weekly at first:
- Coverage or Pages report for errors
- Core Web Vitals report
- Mobile usability report
Fix issues early before they spread across many pages.
Common problems and fixes
Sitemap submitted but no pages indexed
- Confirm the site is not blocked by robots.txt
- Make sure pages are not set to noindex
- Use URL Inspection to request indexing
Duplicate without user-selected canonical
- Confirm your canonical URLs are correct
- Avoid publishing multiple pages with identical content
Crawled - currently not indexed
- Improve content depth and internal links
- Make sure the page answers a clear question
Quick checklist
- [ ] Property added
- [ ] Ownership verified
- [ ] Sitemap submitted
- [ ] Key URLs inspected
- [ ] Reports checked weekly
First 7 days checklist
- Verify ownership and submit the sitemap
- Inspect the homepage and one post URL
- Check for any coverage or indexing errors
- Review the Performance report for early queries
Performance report basics
The Performance report shows how people find you. Start with:
- Queries: what people searched for
- Pages: which posts are getting impressions
- CTR: whether the title and intro match intent
Use this to decide which posts to improve first.
10-minute weekly workflow
- Check Performance -> Queries for new terms.
- Find pages with impressions but low CTR.
- Update the title and first 120 words to match intent.
- Re-check in 7-14 days.
This cycle turns early data into real improvements without new posts.
When to request indexing
Request indexing only when:
- The page is live and complete
- You fixed a major error or updated the content
- You changed the title or URL
If you request too often, it does not speed things up.
Coverage report triage
Use this quick filter:
- Errors: fix first
- Warnings: fix if they impact key pages
- Excluded: check for noindex or canonical issues
URL inspection decision tree
- Page new or updated? Request indexing once.
- Page unchanged? Do not request again.
- Page still not indexed? Improve content depth and internal links.
Query triage example
Pick one query with impressions and low CTR:
- Compare your title to the top 3 results.
- Add a clearer benefit or outcome to the title.
- Rewrite the first 2 sentences to match the query intent.
Re-check CTR in 14 days and repeat on another page.
Indexing expectations
New pages can take days or weeks to index. Focus on quality, internal links, and consistency. Request indexing only after meaningful updates.
Simple dashboard in Sheets
Track five items per week:
- Top query
- Top page
- Average position
- CTR
- Notes on changes
This is enough to make consistent improvements without full analytics.
URL inspection notes example
If you request indexing, record:
- URL requested
- Date
- Change made
- Index status after 7 days
This prevents repeated requests without progress.
Common setup mistakes
- Submitting the wrong sitemap URL
- Leaving pages noindex by accident
- Assuming indexing will happen immediately
Fix these early and your data becomes reliable much faster.
Quick recap
- Verify the property once
- Submit the sitemap
- Inspect key URLs
- Review performance weekly
Small, consistent checks beat one-time audits.
Original insight you can replicate
Example you can run on one existing post:
- Rewrite the first 120 words to answer the query directly.
- Add 2-3 internal links to related guides and update the title for clarity.
- Track impressions and CTR for 14 days in Search Console.
Decision rule: If CTR improves without losing impressions, roll the same pattern across similar posts.
FAQ
How long does indexing take?
It varies. New sites can take days or weeks. Keep publishing and improve internal links.
Do I need to use all reports?
No. Start with Coverage, CWV, and Performance. Add others as needed.
Should I verify both domain and URL prefix?
If you can, yes. It gives you flexibility later.
For keyword ideas, see Keyword research for WordPress bloggers.
Editorial note
This guide is reviewed by the WPThemeLabs editorial team and updated as tools and best practices change. See our editorial policy for how we research and maintain content.
Related Posts