Image optimization for WordPress blogs (quality without slow pages)
A practical image workflow for WordPress: resize, compress, deliver, and avoid CLS without sacrificing quality.


Images are the #1 reason WordPress blogs feel slow. The fix is not a plugin by itself. The fix is a repeatable workflow that keeps images crisp and small.
What this guide gives you
- Target sizes for blog images
- A simple 5-step workflow you can repeat
- CLS prevention tips so layouts stay stable
- A checklist you can copy for every post
Example screenshot (illustration)
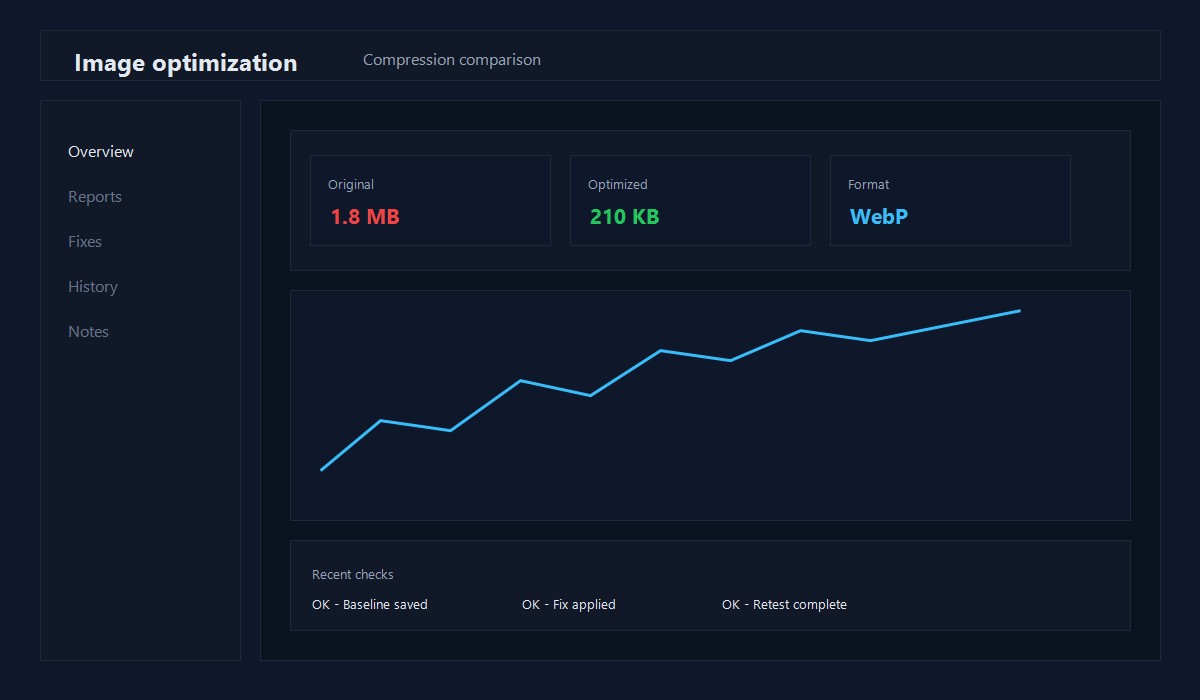
Illustration: Before/after compression comparison.
Step 1: Resize to the real display size
Do not upload a 4000px photo if your content area is 800px wide.
Useful targets:
- Hero images: 1200 to 1600px wide
- In-post images: 800 to 1200px wide
- Thumbnails: 300 to 600px wide
If you resize first, you usually cut file size by 50 to 80 percent.
Step 2: Compress before upload
Compression is the fastest win. Aim for:
- Under 200 KB when possible
- Under 500 KB for large hero images
If a single image is over 1 MB, it is almost always worth redoing.
Step 3: Choose the right format
- JPEG for photos and gradients
- PNG for UI screenshots and transparency
- WebP or AVIF if your stack supports it
If you are unsure, use JPEG. It is still fine for most blogs.
Step 4: Avoid CLS with proper sizing
CLS happens when the browser does not know the image size up front.
- Always keep width and height attributes
- Use consistent aspect ratios
- Avoid lazy loading the first visible image
If the first image loads late and shifts content, your CLS score suffers.
Step 5: Deliver with responsive images
WordPress generates multiple sizes and uses srcset automatically. Do not disable it. Responsive images mean mobile devices download smaller files.
A simple 5-step workflow (repeat this)
- Resize to target width
- Compress
- Convert to WebP when possible
- Upload
- Add alt text and verify
That is it. Do this every time and your images stay fast.
Common mistakes to avoid
- Uploading full-size phone photos
- Relying on a plugin without resizing first
- Lazy loading the hero image
- Forgetting width and height
- Oversized featured images that scale down in the browser
Example: exclude the first image from lazy load
If your first image is above the fold, exclude it from lazy loading. In WordPress block editor you can toggle this per image. If you manage templates, keep the first image eager and lazy load the rest.
Plugins: choose one and keep it simple
If you want automation, use one image plugin, not three. Look for:
- WebP generation
- Bulk optimization
- Lazy load controls
Multiple plugins can create conflicts and duplicate files.
Alt text and filenames
- Filename:
wordpress-image-optimization-checklist.jpg - Alt text: "Before and after image compression example"
Alt text should describe the image, not stuff keywords.
Quick checklist (copy/paste)
- [ ] Resized to target width
- [ ] Compressed under 200 KB when possible
- [ ] WebP or AVIF generated if supported
- [ ] Width and height set
- [ ] Hero image not lazy loaded
- [ ] Alt text added
Troubleshooting
Image still too large
- Re-export at a smaller width
- Increase compression slightly
- Use WebP instead of PNG
CLS is still high
- Confirm width and height exist
- Reserve space for ads and embeds
- Avoid late banners above the fold
Export presets that work well
- Blog hero: 1600px width, JPEG quality 70-80
- In-post screenshots: 1200px width, PNG only if needed
- Thumbnails: 600px width, JPEG quality 70
Common size table (quick reference)
- 1600px: hero images
- 1200px: full-width in-post images
- 800px: half-width images
- 600px: thumbnails
Using predictable sizes keeps your media library clean.
Compression workflow example
- Export at 1600px width for hero
- Compress to 200 KB target
- Convert to WebP if supported
- Upload and verify srcset
Accessibility notes
- Alt text describes the image, not keywords
- Keep contrast readable in screenshots
- Avoid text baked into images when possible
Accessibility improves both UX and quality signals.
Media library cleanup routine
Once per quarter:
- Delete unused image variants
- Replace oversized hero images
- Re-compress top traffic post images
This keeps media storage and load times under control.
Format decision rule
If text must stay sharp, use PNG. Otherwise, prefer JPEG or WebP. Pick the smallest file that still looks good.
Before/after compression notes
Record the file sizes so you can see real gains:
- Original size
- Compressed size
- Format used
If you save 70-90%, you are doing it right.
CDN offload plan
If traffic grows:
- Move static images to a CDN
- Keep originals backed up
- Re-test LCP after the switch
CDN gains are more visible for global audiences.
Original insight you can replicate
Example you can run on a staging site in 30 minutes:
- Choose one page related to this guide and capture a baseline screenshot and speed check.
- Apply one change from this post only.
- Re-test and log the before/after notes.
Decision rule: If the change improves the primary metric without breaking layout, keep it and document the exact setting you used.
FAQ
Do I need a CDN for image speed?
A CDN helps once you have steady traffic, but resizing and compression are the bigger wins early on.
Are WebP and AVIF required?
No. They are helpful, but a well-compressed JPEG is still good.
Should I always use PNG for screenshots?
Use PNG only when text clarity requires it. Otherwise, a high quality JPEG can be smaller.
If you want a full performance plan, see WordPress Performance Optimization in 2026.
Editorial note
This guide is reviewed by the WPThemeLabs editorial team and updated as tools and best practices change. See our editorial policy for how we research and maintain content.
Related Posts


